


Your first trade show booth is a small operation with a public deadline. Products, freight, people, utilities, demonstrations and marketing all have to come together before the doors open. The most useful checklist names a person, a date and a confirmation for every important task.
This guide is a working planning reference for first-time trade show and conference exhibitors. The example planning windows below are internal starting points, not organizer deadlines. Your current exhibitor manual, venue instructions and assigned contractor determine the actual receiving, move-in, service-order and move-out requirements.
Start with one objective and one accountable lead
Decide what the show needs to accomplish. You might be introducing a product, meeting potential partners, booking demonstrations or supporting existing customers. Give the booth team a clear definition of a useful conversation and a practical next step to offer each visitor.
Assign an exhibition lead who owns the master schedule, budget and escalation decisions. Give each workstream its own owner: freight, booth construction, technology, staffing, appointments, content and follow-up. Keep a shared folder with the current manual, floor plan, orders, confirmations and emergency contacts. A document nobody can access from the hall is of limited use.
- Confirm the booth assignment, dimensions and what the space includes.
- List required products, display elements and demonstration equipment.
- Budget for transport, material handling, venue services, installation, travel, staffing and content production.
- Record purchasing approvals and the person authorized to resolve an onsite issue.
Build your show-specific deadline sheet
Read the manual for your exact show, year and venue. A schedule from a previous edition can be misleading. A large event may have different instructions for separate halls, suites or outdoor spaces. The CES exhibitor manuals are one example of why venue-specific instructions matter.
Use the checklist below to build your show-specific deadline sheet. Record each confirmed date and local time zone, the responsible owner, and a source or confirmation reference. Keep receiving windows separate from your company's shipping target. A delivery that leaves your office on time can still arrive outside the venue's permitted window.
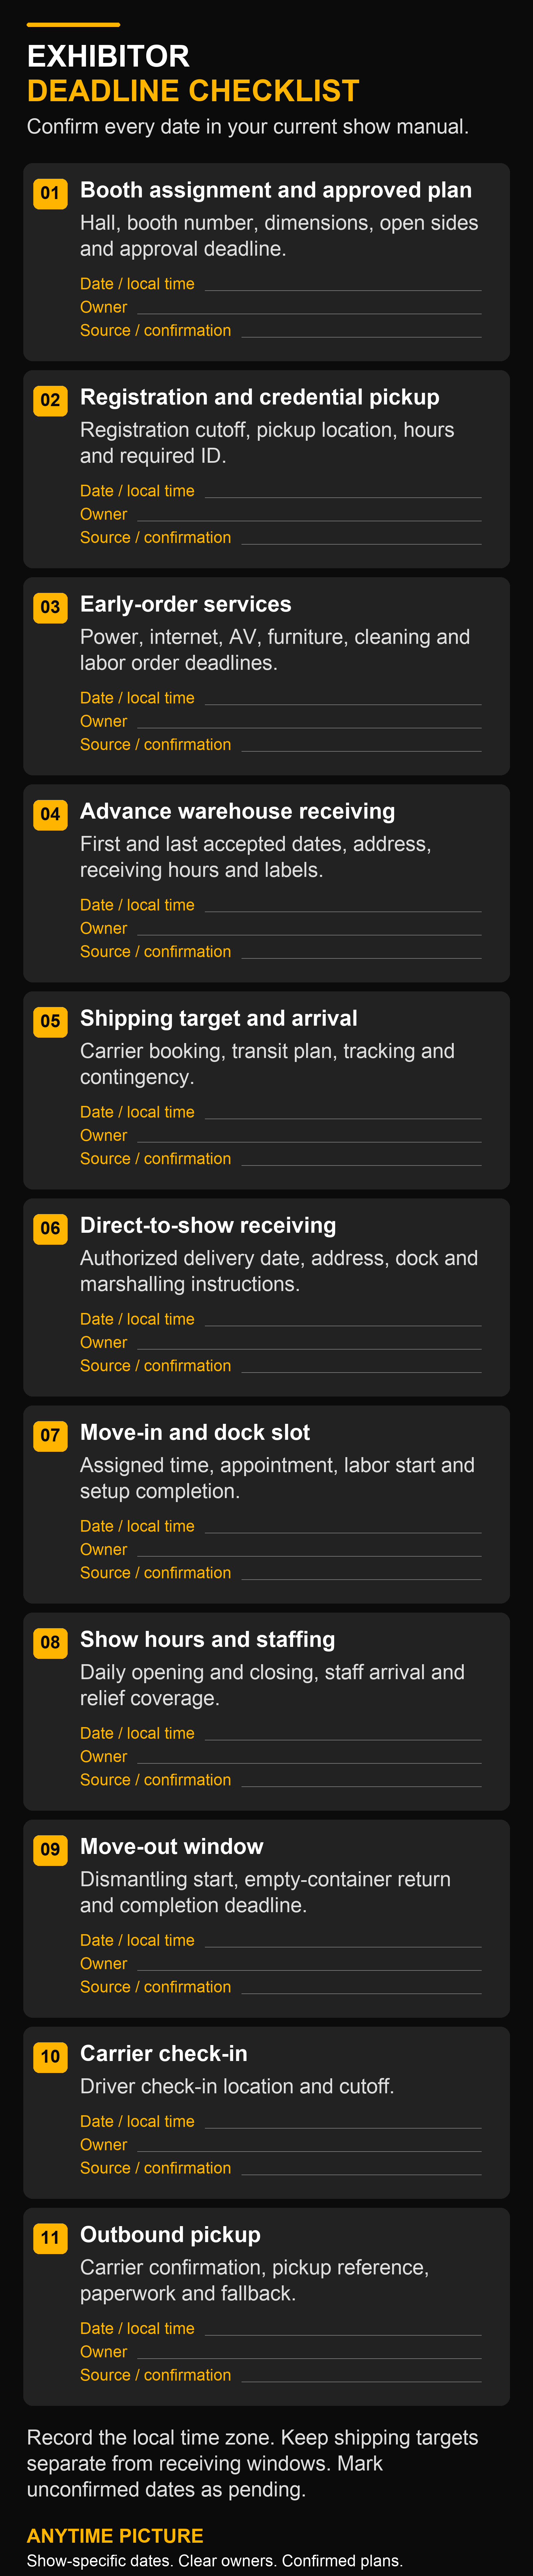
Checklist text version
- Booth assignment and approved plan: Hall, booth number, dimensions, open sides and approval deadline.
- Registration and credential pickup: Registration cutoff, pickup location, hours and required ID.
- Early-order services: Power, internet, AV, furniture, cleaning and labor order deadlines.
- Advance warehouse receiving: First and last accepted dates, address, receiving hours and labels.
- Shipping target and arrival: Carrier booking, transit plan, tracking and contingency.
- Direct-to-show receiving: Authorized delivery date, address, dock and marshalling instructions.
- Move-in and dock slot: Assigned time, appointment, labor start and setup completion.
- Show hours and staffing: Daily opening and closing, staff arrival and relief coverage.
- Move-out window: Dismantling start, empty-container return and completion deadline.
- Carrier check-in: Driver check-in location and cutoff.
- Outbound pickup: Carrier confirmation, pickup reference, paperwork and fallback.
For every milestone, record the date and local time, owner, and source or confirmation. If a date is missing, mark it pending and ask the organizer or assigned contractor. Set an internal reminder before the real deadline, with enough time for approvals and corrections. Do not replace a missing official date with a guess.
Example planning window: 8-12 weeks before the show
Use this period to settle the scope and identify long dependencies. Custom displays, approvals, international transport and complex demonstrations may need earlier work. If you are already closer to the event, use the checklist to identify the critical path immediately.
- Review the booth contract, display rules and approval requirements.
- Confirm the organizer's service providers and the process for outside contractors.
- Check insurance, certificate of insurance and contractor documentation requirements where applicable.
- Decide who installs, tests, operates and dismantles each display.
- Check power, connectivity and AV needs against the actual demonstration.
- Begin meeting outreach with a clear audience and appointment owner.
Keep the booth message simple enough to understand while walking past. Plan product placement and visitor movement together, leaving accessible walkways and required clearances. Ask the organizer about applicable display and accessibility requirements before finalizing the layout.
Plan photography and video while the schedule is still flexible
Bring your photographer or videographer into planning before every hour is allocated to sales meetings. Clean booth photographs need a finished space before traffic. Interviews need available people and a suitable sound environment. A product demonstration needs a knowledgeable operator and time to repeat an action for another view.
Build the content brief around intended use. A press photograph, a technical demonstration and a vertical social edit require different framing and preparation. Consider booth photography, product demos, executive interviews, genuine customer testimonials, team headshots, speaker recordings, corporate or private events, recorded podcasts and highlight content as separate scheduling needs.
- Create a prioritized shot list with required products, people and locations.
- Agree the deliverables, aspect ratios, captions or graphics, approval contact and delivery deadline.
- Confirm permissions, access, participant consent and release restrictions.
- Reserve clean booth time, interview slots, portrait appointments and demo resets.
- Identify simultaneous activities that require additional crew roles.
Our trade show photography and camera and film crew services can be planned around that brief. For a Las Vegas CES assignment, see our CES 2027 photography and video coverage guide.
Example planning window: 4-6 weeks before the show
Confirm orders and transport arrangements against the official schedule. Do not assume a booth includes electricity, internet or a screen simply because a rendering shows them. Check ordered capacity, installation location and the time services should be ready.
- Place or verify power, internet, AV, furniture and cleaning orders.
- Confirm installation and dismantling labor, with setup instructions.
- Arrange credentials and record pickup requirements for staff and approved contractors.
- Book freight transport against the correct warehouse or show-site receiving window.
- Confirm accommodation and travel around setup and dismantling responsibilities.
- Test lead capture, offline notes and the follow-up handoff.
Rehearse the demonstration using the equipment that will travel. Keep an approved version of presentation files and screen content. Decide what staff will do if a device, connection or display fails. A short alternative explanation can keep a conversation useful while the issue is resolved.
Shipping and material handling are different jobs
Freight shipping moves your goods between locations. Material handling, often called drayage, concerns the movement of exhibit freight within the event operation, such as unloading, booth delivery, empty-container storage and outbound loading. A carrier booking does not automatically include those venue services. Freeman's exhibitor guide explains the distinction and the need to check show-specific receiving windows.
Compare advance warehouse delivery with direct-to-show delivery using your assigned contractor's instructions. Record the correct address and labels for the chosen route. A hotel address or a general convention center address may not be the authorized freight destination.
- Create a packing list and photograph the packed contents.
- Label each case with the event, exhibitor, booth number, case count and onsite contact as required.
- Prepare the inbound bill of lading and any required weight or shipment records.
- Share tracking and delivery instructions with the onsite lead.
- Prepare return labels, outbound paperwork and carrier arrangements before departure.
For international freight, discuss customs and documentation with the appointed logistics specialist. Freeman's international exhibitor guidance also highlights that some venue services may be exclusive. Confirm the rules that apply to your shipment and location.
The final week: check evidence, not assumptions
Run a short readiness meeting using confirmations rather than a list of hopeful status updates. The freight owner should have tracking. The services owner should have order references. The content lead should have named participants and a schedule.
- Verify freight status and the response plan for a delay.
- Pack approved spares, chargers, adapters and essential demonstration accessories.
- Store manuals, packing lists, orders and contact details for offline access.
- Distribute staff arrival times, badge pickup and venue entry instructions.
- Confirm appointments, demonstration roles and the person approving content.
- Check the move-out plan and outbound carrier booking again.
Keep indispensable files and contact information accessible to more than one person. Avoid putting every spare and every original in the same shipment. Decide who can authorize a replacement or a change if the lead is in a meeting.
Move-in day: receive, inspect, build and test
Arrive for your assigned move-in time with the correct credentials. Follow dock, marshalling and contractor instructions. Ask the exhibitor service desk about missing freight or service orders using the shipment and order references. Heavy equipment, rigging, electrical work and labor requirements belong with the authorized contractor and manual, not an improvised onsite plan.
- Locate the booth and inspect delivered cases against the packing list.
- Document damage or shortages and report them promptly through the required process.
- Check utilities and the floor plan before installation proceeds.
- Unpack, assemble and test displays with the responsible operator.
- Apply required empty-container labels and confirm storage arrangements.
- Remove clutter, rehearse the demonstration and complete the clean booth photography slot.
Do not place anything needed during the show in a case going to empty storage. Keep tools and supplies only where venue rules permit. Confirm that staff know the service desk location and who handles a technical problem.
During show days: protect the visitor experience
Hold a brief opening check before visitors arrive. Test the product, screens and lead capture. Assign demonstration, greeting and meeting roles, plus breaks and relief coverage. A busy booth still needs someone who can answer a practical question and record a useful next step.
- Keep walkways clear and manage demonstrations within the approved space.
- Capture the visitor's interests and agreed follow-up, with appropriate permission.
- Confirm interview guests and portrait participants before their time slots.
- Tell the production lead about schedule changes or restricted material.
- Back up approved files and review the next day's priorities.
Separate conversations that need quiet from high-traffic demonstrations. Customer testimonials, headshots and speaker recordings work better with confirmed appointments than last-minute requests.
Move-out: the show ends before the freight journey does
Wait until the permitted dismantling time. Keep an authorized person onsite through the required handoff. Empty containers may return in stages, so do not schedule the outbound truck or departing staff on the assumption that everything will be immediately accessible.
- Confirm the carrier's check-in location, cutoff and pickup reference.
- Inventory, protect and label every outbound piece.
- Complete the contractor's outbound material handling paperwork and bill of lading.
- Submit paperwork through the required service desk or digital process.
- Keep copies and confirm who is responsible if the carrier misses the cutoff.
- Track the return shipment and inspect it on arrival.
Booking a carrier and completing outbound paperwork are separate tasks. Confirm both. Ask the assigned contractor what happens to uncollected freight and record the escalation contact before the hall becomes busy with dismantling.
After the show: close the loop
Assign each qualified conversation to an owner and send the promised material while the discussion is still recognizable. Use approved photographs, demonstrations and interview excerpts where they help answer a specific question. Agree review and delivery deadlines with the production team before assuming content will be ready for a particular campaign.
Reconcile orders and shipping records, inspect returned equipment and record lessons for the next event. Review the objective you set at the beginning, the quality of conversations and the follow-up work still outstanding. Keep the checklist, with corrected dates and lessons, as a starting point for the next show rather than reusing its deadlines unchanged.
A final first-time exhibitor check
The common mistakes are avoidable: using last year's manual, confusing shipping with material handling, missing the receiving window, assuming utilities are included, scheduling portraits during a launch, and leaving before the outbound handoff. Put each task beside its owner and confirmation, then revisit the gaps before travel.
Plan Your Trade Show Coverage -> or Call Now: 800-910-0078.